


.png)
How to Fit Oak Mantel the Right Way
- info1235355
- Jul 2
- 6 min read

A solid oak mantel changes the whole feel of a fireplace - but only if it is fitted properly. If you are looking up how to fit oak mantel pieces yourself, the good news is that the job is usually very straightforward when the measurements are right, the wall is sound, and the fixings suit the weight of the beam.
Oak has real presence. It is heavier than hollow decorative surrounds, and that is part of its appeal. It also means fitting is less about rushing through a few screws and more about getting a safe, level, lasting result that looks as though it has always belonged in the room.
Before you fit an oak mantel
The first thing to check is the wall itself. A solid masonry wall gives the simplest installation, as fixings can be taken directly into brick or block. Plasterboard alone is not enough to support a heavy solid oak beam, so if you are dealing with a stud wall or boarded chimney breast, you need to locate the structural timber behind it or create proper reinforcement before fitting.
You should also confirm that your chosen mantel size is proportionate to the fireplace opening and the wall around it. A beam that is too short can look mean, while one that is too deep or too tall may overpower the room. In most homes, the best result comes from a mantel that feels substantial without crowding the opening beneath it.
If the fireplace is working rather than purely decorative, you must pay attention to current fire safety guidance and heat clearances. The exact distance required between a combustible oak beam and a stove or open fire depends on the appliance and installation. This is one area where guessing is not worth the risk. Always check the manufacturer guidance for the stove or fire, and if needed speak to a qualified installer before fixing the beam in place.
Tools and fixings you will usually need
For most masonry installations, the basic kit is simple: a tape measure, spirit level, drill, suitable masonry bit, socket set or spanner, pencil, and the fixings supplied with the mantel. Many handcrafted oak mantels are prepared with pre-drilled holes to make the process cleaner and more accurate.
The fixing method matters. Hidden threaded rods or heavy-duty bracket systems are popular because they support the weight well while keeping the finished look clean. That is often what people want from an oak beam mantel - a strong, simple line with no visible hardware once installed.
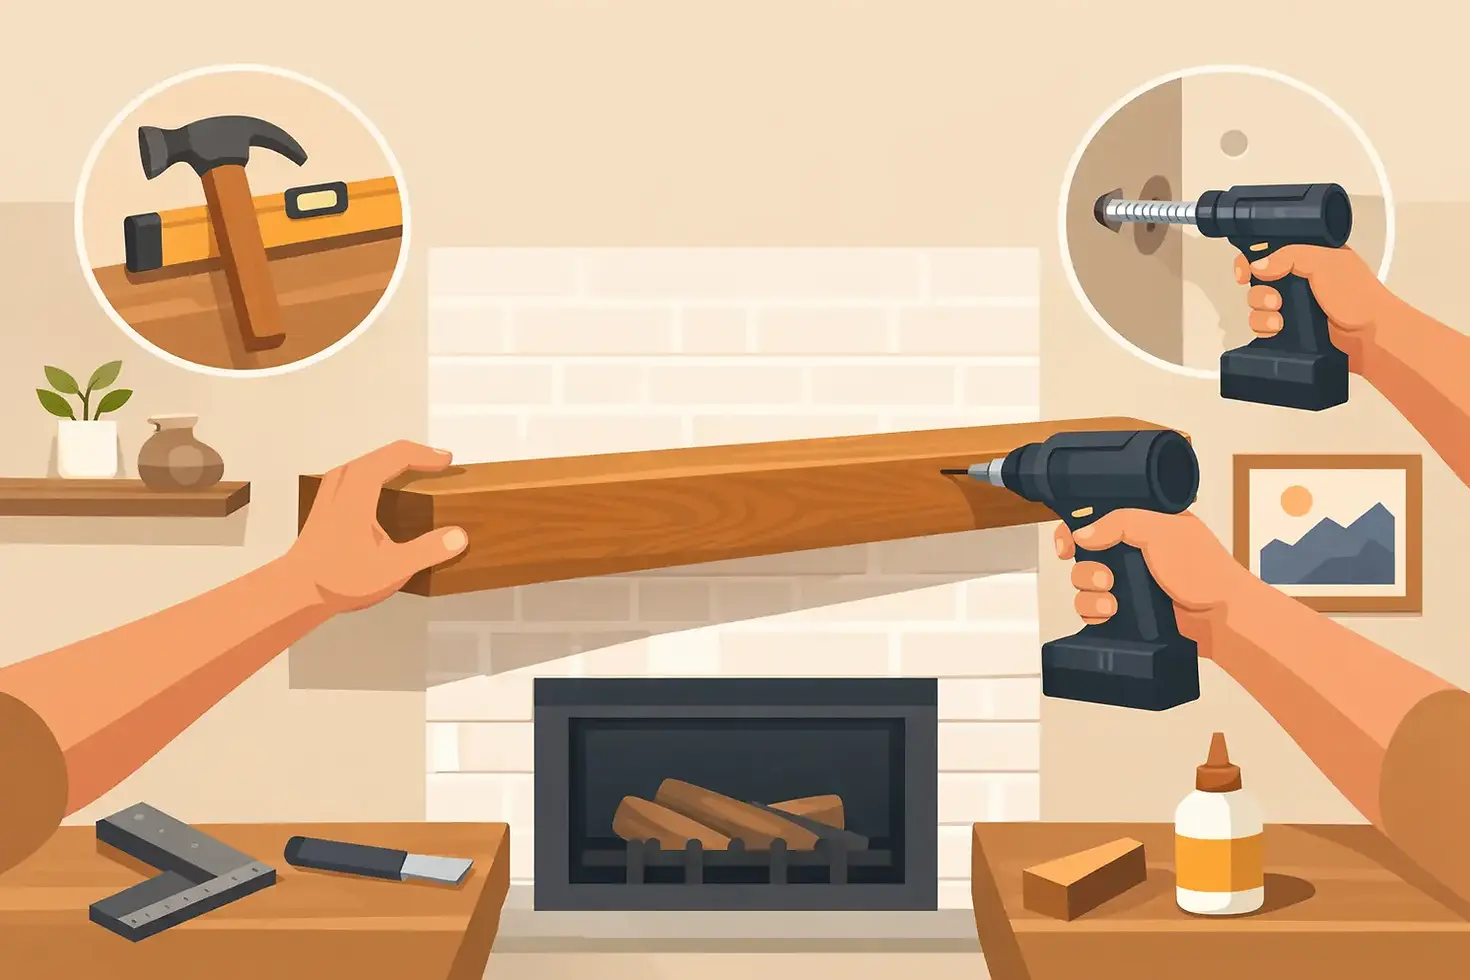
How to fit oak mantel step by step
Start by deciding the finished height. This is partly practical and partly visual. Too high, and the mantel can feel disconnected from the fireplace. Too low, and it may look cramped or fall foul of heat clearance rules. Once you are happy with the position, mark a level line on the wall.
Next, measure the fixing points on the rear of the oak beam and transfer those measurements carefully to the wall. This part is worth doing slowly. If your marks are even slightly out, the beam may not slide onto the rods properly or may sit under strain.
Drill the wall to the required depth using the correct masonry bit. If the wall is old, crumbly or uneven, take your time and clear out dust properly so the fixings can grip. Insert the wall anchors or resin-fixed studs as required by the fitting system you are using.
Once the fixings are in place, check they are level and set evenly. Then lift the beam into position and slide it onto the rods or bracket system. A second pair of hands is useful here, especially with larger beams. Solid oak has real weight to it, and trying to manoeuvre a long mantel alone can lead to scuffed plaster, strained fixings or an avoidable injury.
When the beam is on the wall, step back and check the line visually as well as with a spirit level. In older homes, floors and chimney breasts are not always perfectly true, so there can be a slight judgement call between absolute level and what looks right to the eye. Usually, the two are close enough, but period properties do sometimes ask for a bit of common sense.
Fitting an oak mantel to different wall types
A brick or block chimney breast is usually the easiest scenario. Heavy-duty concealed fixings can be anchored securely, and the mantel will feel very solid once in place. This is the ideal setting for a substantial beam.
Stone walls can also work well, though they are less predictable. You may need to avoid weak mortar joints and drill into sound stone instead. If the face is uneven, packing or slight adjustment may be needed so the beam sits neatly without rocking.
Plasterboard over masonry is common in renovated homes. In that case, the important thing is to make sure the structural fixings still reach the solid wall behind. The plasterboard itself contributes little to the actual support.
Stud walls need more care. If there is no solid backing where the mantel must go, fitting directly is not advisable. You may need timber noggins or another reinforced fixing point installed first. A good oak mantel deserves proper support, not a workaround.
Common mistakes when fitting an oak mantel
The most common problem is poor measuring. A few millimetres out between the beam and the wall fixings can make installation far more difficult than it needs to be. Measure twice, mark clearly, and check again before drilling.
Another mistake is underestimating the wall condition. A heavy beam fixed into tired plaster or weak substrate will never feel as secure as it should. If the wall is unsound, sort that first.
There is also the temptation to treat all beams the same. In reality, a short decorative shelf and a deep solid oak mantel are different things. The weight, projection and fixing loads change with beam size, so the installation method has to match.
Finally, some people fit first and think about finish later. Oak is a natural material with grain, knots and colour variation that give it character. During installation, protect the beam from dirty hands, metal scuffs and plaster dust so it looks its best once mounted.
Getting the finish right after installation
Once fitted, give the beam a careful wipe with a soft dry or slightly damp cloth, depending on the finish used. Avoid saturating the timber. If your mantel has been waxed or oiled, it will usually benefit from gentle routine care rather than harsh cleaning products.
Freshly fitted oak often settles beautifully into the room over the following days. As natural light moves across the grain, the details that looked subtle in the workshop become much more noticeable at home. This is one of the reasons homeowners choose real oak in the first place - it has depth and individuality that manufactured alternatives simply do not have.
If you have ordered a made-to-measure beam with pre-drilled fittings, much of the guesswork is removed before the mantel even reaches your door. That preparation makes a real difference, especially if you want a clean installation without visible brackets or site-made modifications.
Should you fit an oak mantel yourself?
In many cases, yes. If the wall is solid masonry, the fixing method is clear, and you are comfortable drilling accurately and lifting the weight safely, fitting your own oak mantel can be a very manageable job.
If the wall is awkward, the fireplace is active, or the beam is especially large, bringing in a professional may be the wiser choice. There is no shame in that. A handcrafted oak beam is a long-term feature, and the cost of getting it properly installed is often small compared with the value of the piece and the finish of the room.
At Country and Coast, we see the best results when the mantel is chosen with the installation in mind - correct size, suitable fixing method, and a finish that works with the character of the home. That combination gives you something more than a shelf over a fire. It gives the room a proper focal point.
Fit it carefully, respect the weight and the wall behind it, and your oak mantel will do what solid oak does best - bring warmth, character and a sense of permanence to the heart of the house.



Comments